Easy Snow Heart Beanie: Free Beginner Crochet Pattern
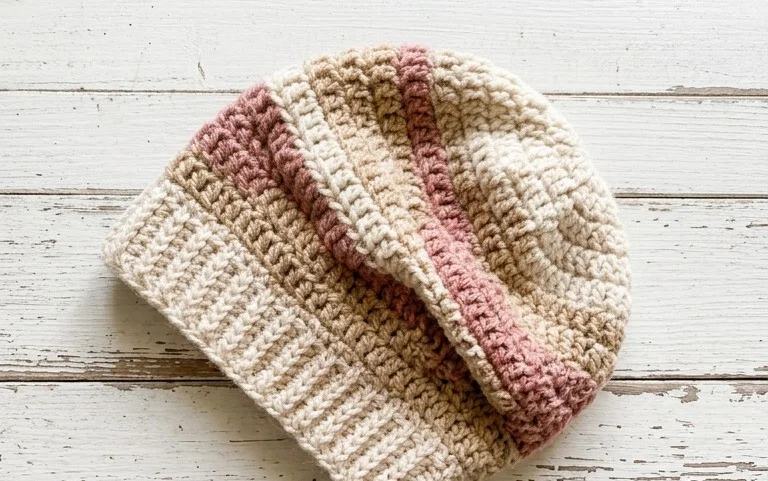
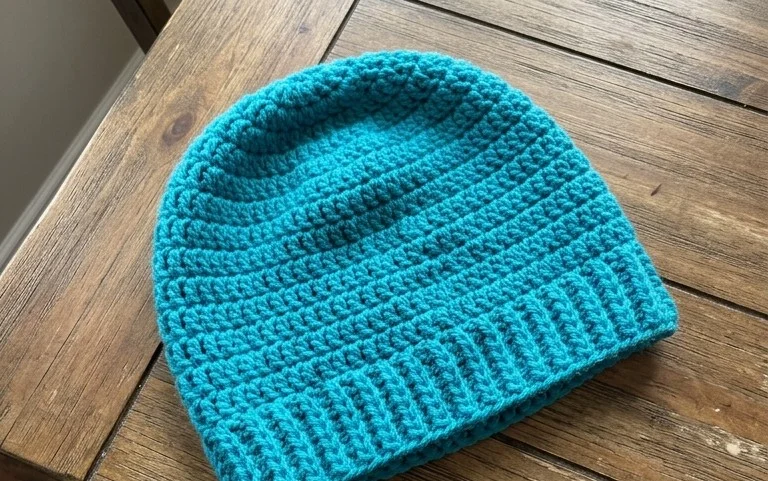
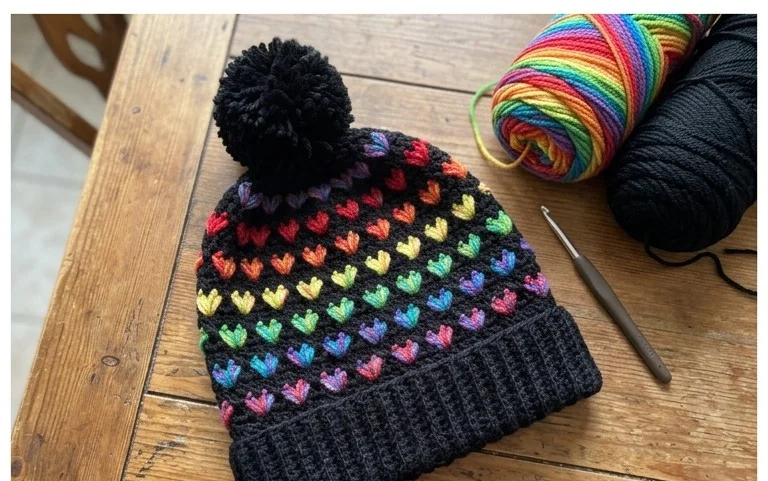
This beanie has a soft, squishy feel that hugs your ears during cold mornings without feeling too tight. It relies on a simple combination of back loop half double crochet stitches, which gives the fabric a thick, ribbed structure that mimics expensive store-bought knitwear. Beginners find this project especially rewarding because it transforms a plain rectangle of yarn into a polished accessory using only basic skills. You will work in back-and-forth rows to build the width, then fold the piece to join the side and cinch the crown, creating a classic silhouette that suits everyone from kids to adults in your family.
Why You Will Love This Pattern
This beginner-friendly project creates a classic crochet beanie that uses a simple, repetitive stitch pattern to achieve a professional, ribbed texture. Because the hat is worked as a flat rectangle and then seamed, you do not need to worry about complex round counting or joining techniques. It is an ideal use for a single skein of worsted weight yarn, making it an affordable gift for friends or family. The stretchiness of the stitch allows for a comfortable fit on various head sizes while maintaining its shape through multiple wears.
I finished this hat in one evening while watching a movie. The instructions were very clear and the resulting texture looks far more complicated than it actually was to make.
— Sarah, hobbyist crocheter
Pattern Overview & Skill Level
- Skill Level: Beginner
- Approximate Time: 3 to 5 hours
- Construction: Worked flat in rows to create a rectangle, then seamed at the side and gathered at the top.
- Finished Dimensions: 18 inches circumference (stretches to 22 inches) and 9 inches tall.
Materials & Supplies Needed
- Yarn: 200 yards of Worsted Weight (#4) wool or acrylic blend yarn.
- Hook Size: 5.0 mm (US H-8).
- Notions: Tapestry needle, scissors, and a measuring tape.
- Yarn Substitutions: Cotton yarn can be used, but note that it will have less natural elasticity than wool or acrylic, which may require you to add extra foundation chains to reach your desired fit.
Stitch Guide & Abbreviations (US Terms)
- ch: chain
- st(s): stitch(es)
- sc: single crochet
- BLO: back loop only (insert hook under only the back loop of the stitch instead of both loops).
- sl st: slip stitch
Step-by-Step Pattern Instructions
Main Body
- Row 1: Ch 46. Sc in the second ch from hook and in each ch across. Turn. (45 sts).
- Row 2: Ch 1, working in BLO, sc in each st across. Turn. (45 sts).
- Rows 3-60: Repeat Row 2 until the piece measures 18 inches in length when slightly stretched.
Assembly and Finishing
- Fasten off, leaving a long tail of approximately 18 inches.
- Fold the rectangle in half, matching the short ends together.
- Using the long tail and a tapestry needle, whip stitch the two short ends together to create a tube.
- Turn the tube inside out so the seam is on the interior.
- Weave the yarn tail in and out through the stitches along the top edge of the tube.
- Pull the tail tight to gather the top opening closed securely.
- Secure the yarn with a knot and weave in the remaining end.
Care & Washing Instructions
- Hand wash the hat in cool water with a gentle wool detergent to prevent felting or shrinking.
- Lay the item flat on a clean towel to air dry, reshaping it gently with your hands while damp.
- Avoid using a tumble dryer, as high heat can damage synthetic fibers and cause natural wool to lose its structure.
Pro Tips & Common Mistakes to Avoid
Maintain consistent tension throughout your rows to ensure the edges remain straight, which makes the final side seam much easier to align. Always count your stitches at the end of every row, especially when you are just starting, as it is common for beginners to accidentally drop the last stitch of a row, which results in a slanted edge. When weaving in your ends, run the needle through the stitches in multiple directions to ensure the yarn is locked in place and will not unravel during washing. If you choose to resize the hat, keep in mind that every two rows added or removed will change the circumference by approximately three-quarters of an inch; ensure you have enough yarn remaining to account for this change.
Frequently Asked Questions
Can I use a larger hook size to make this faster?
Using a larger hook will make the fabric less dense and more prone to stretching out of shape. Stick to the recommended 5.0 mm hook for the best structural support.
How do I adjust this pattern for a child size?
Simply reduce the number of starting chains to decrease the height and stop working the rows once the circumference reaches the desired measurement for the child’s head.
Is this pattern suitable for someone who has never crocheted before?
Yes, because the pattern relies entirely on the single crochet stitch worked in the back loop only, it provides excellent practice for basic mechanics without requiring knowledge of complex stitch patterns.
Am I allowed to sell hats made from this pattern?
You are welcome to sell finished items created from this pattern, provided you credit the designer and use your own photographs for your listings.
You now have a warm, custom-made accessory ready to wear for those chilly walks outside. Try holding two strands of thinner yarn together to get an even chunkier look if you want something thicker for deep winter. Please share a photo of your finished work online so we can admire your color choices. Browse our full archive of free projects to find your next knitting or crochet venture after you finish this one, as we have many other designs waiting for your hook.