Easy Crochet Beanie: Beginner Free Pattern & Materials
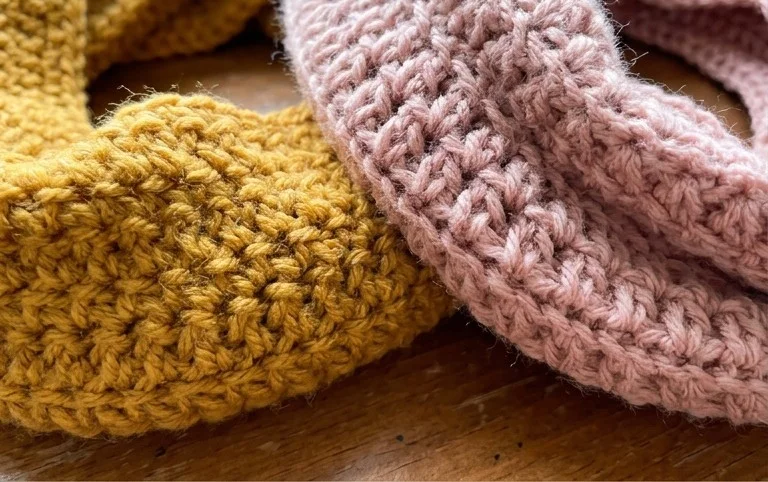
This classic beanie features a dense, squishy fabric that keeps your ears warm during long winter walks. The tight weave of the half double crochet stitch creates a smooth, wind-resistant surface that looks clean and modern. Whether you are a beginner picking up a hook for the first time or a gift maker needing a reliable project that finishes in a single evening, this hat is a great way to use up those extra skeins in your stash. You will learn how to maintain consistent tension and join rounds properly for a professional, seamless result.
Why You’ll Love This Pattern
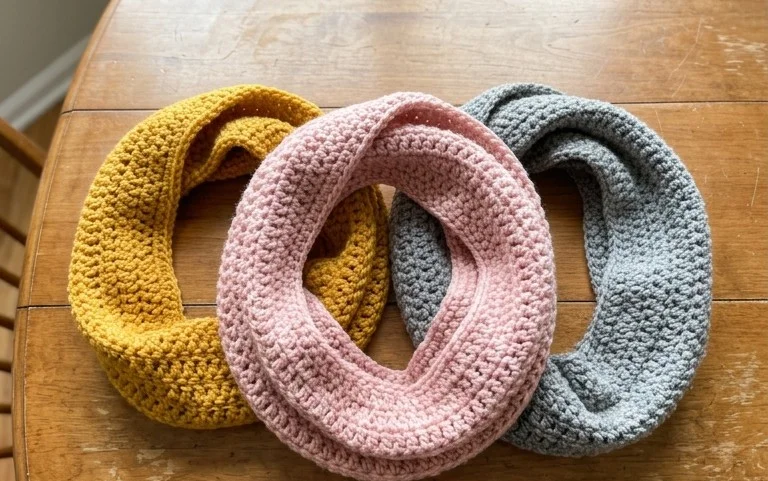
This classic crochet beanie works up quickly using the half double crochet stitch, which provides a dense, warm texture perfect for chilly weather. It is a one-skein project, making it an economical choice for those looking to use up single balls of yarn from their stash. The simple construction relies on working in joined rounds, which keeps the stitch alignment straight and creates a professional finish without complex shaping. Because the pattern uses a standard ribbing technique, it offers enough stretch to fit a variety of head sizes comfortably.
I finished this hat in one evening while watching a movie. The instructions were very easy to follow and the hat fits perfectly.
— Sarah, casual crafter
Pattern Overview & Skill Level
- Skill Level: Beginner
- Approximate Time: 2 to 3 hours
- Construction: Worked in joined rounds from the bottom brim up to the crown, then cinched closed.
- Finished Dimensions & Sizing: Fits average adult head (20-22 inch circumference). Height is adjustable.
Materials & Supplies Needed
- Yarn: Worsted weight (#4) acrylic or wool blend, approximately 200 yards.
- Hook Size: 5.0 mm (H-8) crochet hook.
- Notions: Yarn needle for weaving ends, stitch markers to track the start of rounds, and a measuring tape.
- Safe yarn substitutions: You can use a cotton blend for a heavier drape, though it will have less natural stretch than wool or acrylic. If using a thinner sport weight yarn, increase your starting chain by 8 stitches to maintain the same circumference.
Stitch Guide & Abbreviations (US Terms)
- ch = chain
- sl st = slip stitch
- hdc = half double crochet
- hdc blo = half double crochet in the back loop only (insert hook into the back loop of the stitch from the previous row)
- st/sts = stitch/stitches
- Rnd = round
Step-by-Step Pattern Instructions
Brim
The brim is worked as a long rectangle and then joined to create a circle.
- Row 1: Ch 9, hdc in 2nd ch from hook and each ch across. (8 sts)
- Row 2-60: Ch 1, turn, hdc blo in each st across. (8 sts)
- Join the short ends of the rectangle together with a sl st through both the foundation chain and the back loop of the last row. Do not cut the yarn.
Hat Body
You will now work along the edge of the ribbing to begin the body of the hat.
- Rnd 1: Ch 1, work 60 hdc evenly around the edge of the brim. Join with sl st to the first hdc. (60 sts)
- Rnd 2-25: Ch 1, hdc in each st around. Join with sl st to the first hdc. (60 sts)
Crown Shaping
This section reduces the number of stitches to pull the top of the hat together.
- Rnd 26: Ch 1, hdc in next 4 sts, hdc2tog repeat from * to * around. Join with sl st. (50 sts)
- Rnd 27: Ch 1, hdc in next 3 sts, hdc2tog repeat from * to * around. Join with sl st. (40 sts)
- Rnd 28: Ch 1, hdc in next 2 sts, hdc2tog repeat from * to * around. Join with sl st. (30 sts)
- Rnd 29: Ch 1, hdc in next 1 st, hdc2tog repeat from * to * around. Join with sl st. (20 sts)
- Rnd 30: Ch 1, hdc2tog repeat from * to * around. Join with sl st. (10 sts)
Assembly
Cut a 10-inch tail of yarn. Using your yarn needle, weave the tail through the remaining 10 stitches on the final round. Pull the yarn tight to cinch the hole closed. Secure the yarn on the inside of the hat with a knot and weave in the remaining end.
Care & Washing Instructions
- Hand wash in cool water using a gentle detergent specifically made for wool or synthetic fibers.
- Gently squeeze out excess water by rolling the hat in a towel, then lay flat on a clean surface to dry.
- Avoid using a tumble dryer, as heat can shrink acrylic fibers or felt wool, causing the hat to lose its shape.
Pro Tips & Common Mistakes to Avoid
- Tension control is vital for the brim. If your stitches are too loose, the brim will stretch out quickly over time. Use a slightly smaller hook for the brim if you find your hand tension is naturally loose.
- Always place a stitch marker in the first stitch of every round. Because joined rounds can create a diagonal seam, the marker helps you identify where the round ends and the next begins.
- Weave your yarn ends in by moving the needle through the stitches in multiple directions. This prevents the ends from popping out when the fabric stretches while worn.
- You can adjust the height of the hat by adding or removing rows from the body section. Adding 5 rows will require approximately 20 additional yards of yarn.
Frequently Asked Questions
Can I use cotton yarn for this beanie?
Yes, you can use cotton, but note that cotton does not have the elasticity of wool or acrylic. You may need to add a few extra stitches to your starting chain to ensure the hat fits comfortably.
How do I make this hat smaller for a child?
To size down, reduce the number of rows in the brim to approximately 50 and decrease the initial round of the body to 50 stitches. Follow the same decrease pattern, starting the first decrease round at 50 stitches.
Is this pattern suitable for complete beginners?
This pattern is perfect for beginners who are comfortable with the single crochet and half double crochet stitches. The repetition in the body helps you practice maintaining even tension throughout the project.
Can I sell the hats I make from this pattern?
You are welcome to sell finished items made from this pattern as long as you credit the design. Please do not sell or distribute the pattern document itself.
Seeing your handmade hat finished is a rewarding feeling, especially when it fits just right after those few hours of work. You can create a distinct look by switching to a variegated yarn or adding a large faux fur pom-pom to the crown for extra flair. Please share your project photos on social media so others can see how your color choices turned out. If you enjoy this quick project, feel free to browse the rest of the blog for more free patterns to fill your afternoon.