Sintra Crochet Square: Free Beginner Pattern & Tutorial
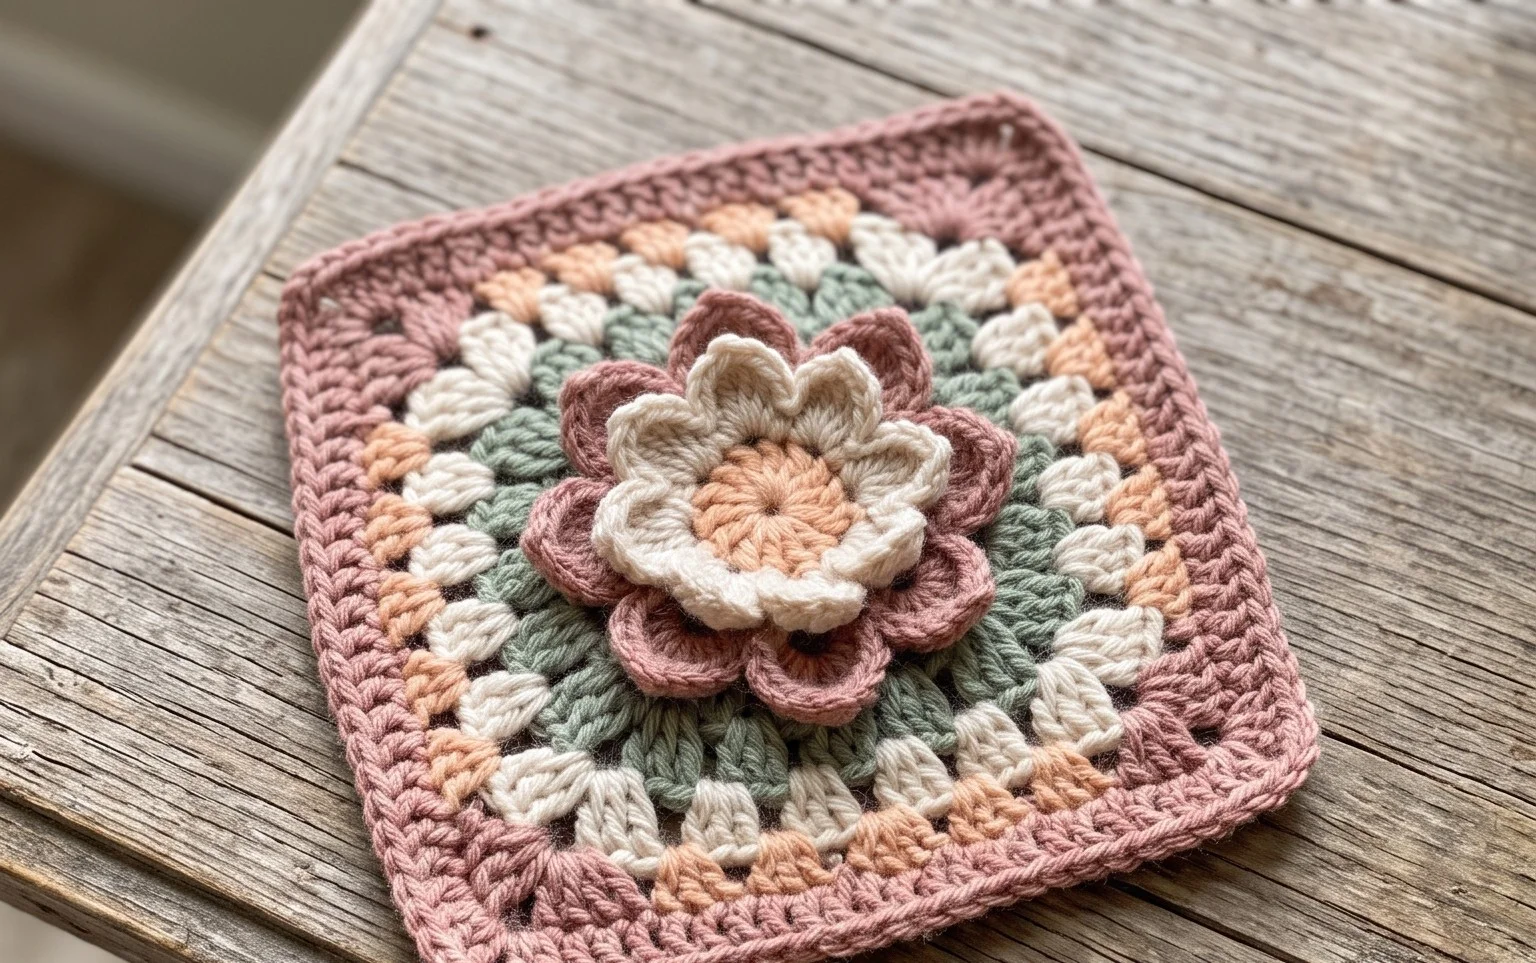
The Sintra square features a dense, structured texture that holds its shape well, making it a reliable choice for long-term projects like blankets or pillows. Beginners often find this project satisfying because it builds confidence with basic double crochet clusters while offering quick results. You can work this up in a single evening, which creates a sense of accomplishment without the frustration of complex stitch counts. This tutorial walks you through the foundation chain and the essential corner turning techniques required to keep your edges straight. Your finished square serves as a sturdy, reliable component for any custom fiber project.
Why You’ll Love This Pattern
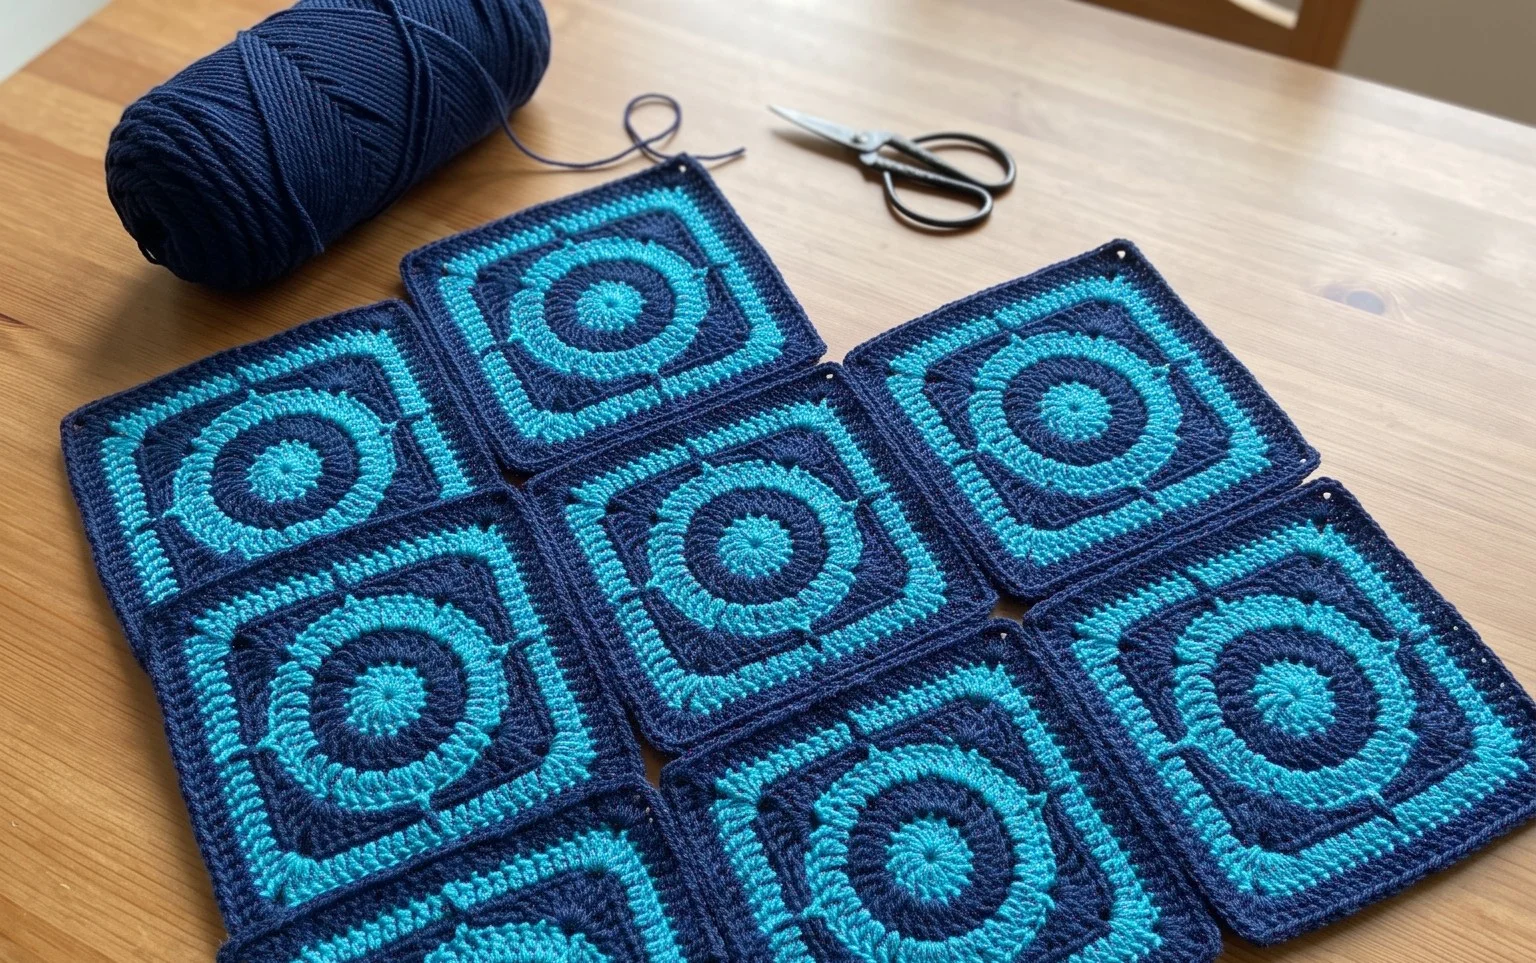
The Classic Crochet Granny Square is the quintessential building block for fiber artists. It works up quickly using simple clusters, making it an ideal choice for testing new color combinations or cleaning out your yarn stash. Because the square relies on a repetitive, rhythmic pattern, it is easy to memorize and perfect for multitasking while listening to a podcast or watching television. Once you master the basic cluster, you can join dozens of squares together to create anything from oversized blankets to tote bags or garment patches.
I finally learned how to make these after months of struggling with other patterns. The steps are so logical that I was able to finish my first square in under twenty minutes.
— Sarah, beginner crocheter
Pattern Overview & Skill Level
- Skill Level: Beginner
- Approximate Time: 20 to 30 minutes per square
- Construction: Working in rounds from the center outward
- Finished Dimensions: Approximately 5 inches by 5 inches using medium weight yarn
Materials & Supplies Needed
- Yarn: Worsted weight (#4), acrylic or cotton blend, approximately 20 yards per square.
- Hook Size: 5.0 mm (US H-8).
- Notions: Yarn needle for weaving ends, scissors.
- Yarn Substitutions: You can use DK weight yarn with a 4.0 mm hook for a smaller, more delicate square, or chunky weight yarn with a 6.0 mm hook for a larger, heavy-duty square. Adjusting weight will change the final dimensions significantly.
Stitch Guide & Abbreviations (US Terms)
- ch: Chain
- st/sts: Stitch/stitches
- sl st: Slip stitch
- dc: Double crochet
- dc-cluster: A group of 3 dc stitches worked into the same space.
- sp: Space (the gap created by the chain stitches).
Step-by-Step Pattern Instructions
This pattern is worked in continuous rounds, with each round closed by a slip stitch into the top of the beginning chain or the first stitch of the round.
Granny Square Body
- Rnd 1: Ch 4, join with sl st to the first ch to form a ring. Ch 3 (counts as first dc here and throughout), 2 dc into the ring, ch 2, *3 dc into ring, ch 2; repeat from * twice more. Join with sl st to the top of the beginning ch-3. (12 dc, 4 ch-2 spaces)
- Rnd 2: Sl st into the next dc, the next dc, and into the first ch-2 space. Ch 3, 2 dc into same sp, ch 2, 3 dc into same sp (corner made). Ch 1, *(3 dc, ch 2, 3 dc) in next ch-2 space, ch 1; repeat from * twice more. Join with sl st to the top of the beginning ch-3. (24 dc, 4 ch-2 spaces, 4 ch-1 spaces)
- Rnd 3: Sl st into the next 2 sts and into the ch-2 corner sp. Ch 3, 2 dc in same sp, ch 2, 3 dc in same sp. Ch 1, 3 dc in the next ch-1 sp, ch 1, *(3 dc, ch 2, 3 dc) in next corner sp, ch 1, 3 dc in next ch-1 sp, ch 1; repeat from * twice more. Join with sl st to the top of the beginning ch-3. (36 dc, 4 ch-2 spaces, 8 ch-1 spaces)
- Rnd 4: Sl st into the next 2 sts and into the ch-2 corner sp. Ch 3, 2 dc in same sp, ch 2, 3 dc in same sp. Ch 1, (3 dc in next ch-1 sp, ch 1) across to corner. Repeat the corner (3 dc, ch 2, 3 dc) and the side sequence (3 dc in each ch-1 sp, ch 1) around. Join with sl st. (48 dc)
Finishing
Cut your yarn, leaving a 6-inch tail. Pull the tail through the final loop and tighten. Thread your yarn needle and weave the end through the back loops of the last round stitches to secure it. Repeat for the starting yarn tail.
Care & Washing Instructions
- Hand wash in cool water with a mild detergent to preserve the shape of the clusters.
- Lay the square flat on a clean towel to air dry, avoiding direct sunlight.
- Block the square lightly by pinning it to a foam mat while damp to ensure perfectly straight edges.
Pro Tips & Common Mistakes to Avoid
Maintain consistent tension by ensuring your dc stitches are not pulled too tightly, especially in the corner chain spaces. Using a stitch marker at the top of your starting chain-3 helps identify the end of the round so you do not accidentally lose track of where to join. When weaving in ends, run the needle through the base of the stitches on the back side of the work to keep the front looking clean and flat. If you want a larger square, simply repeat Rnd 4 until you reach your desired size, adding one extra cluster group for every additional round you perform.
Frequently Asked Questions
Can I use a different yarn weight for this pattern?
Yes, you can use any weight, but remember that the hook size must be adjusted to match the yarn recommendation on the label to ensure the square remains square and not wavy or too tight.
Why do my edges look wavy instead of straight?
Wavy edges usually indicate that your tension is too loose or you are accidentally adding extra stitches into the side spaces. Check your count after every round to ensure you only have 3 dc clusters in the ch-1 spaces.
Is this pattern suitable for making a blanket?
Absolutely. You can make many individual squares and join them together using a whip stitch or a single crochet seam to create a blanket of any size.
May I sell items made from this pattern?
You are welcome to sell finished items created from this design. Please provide credit to the pattern designer in your online shop listings.
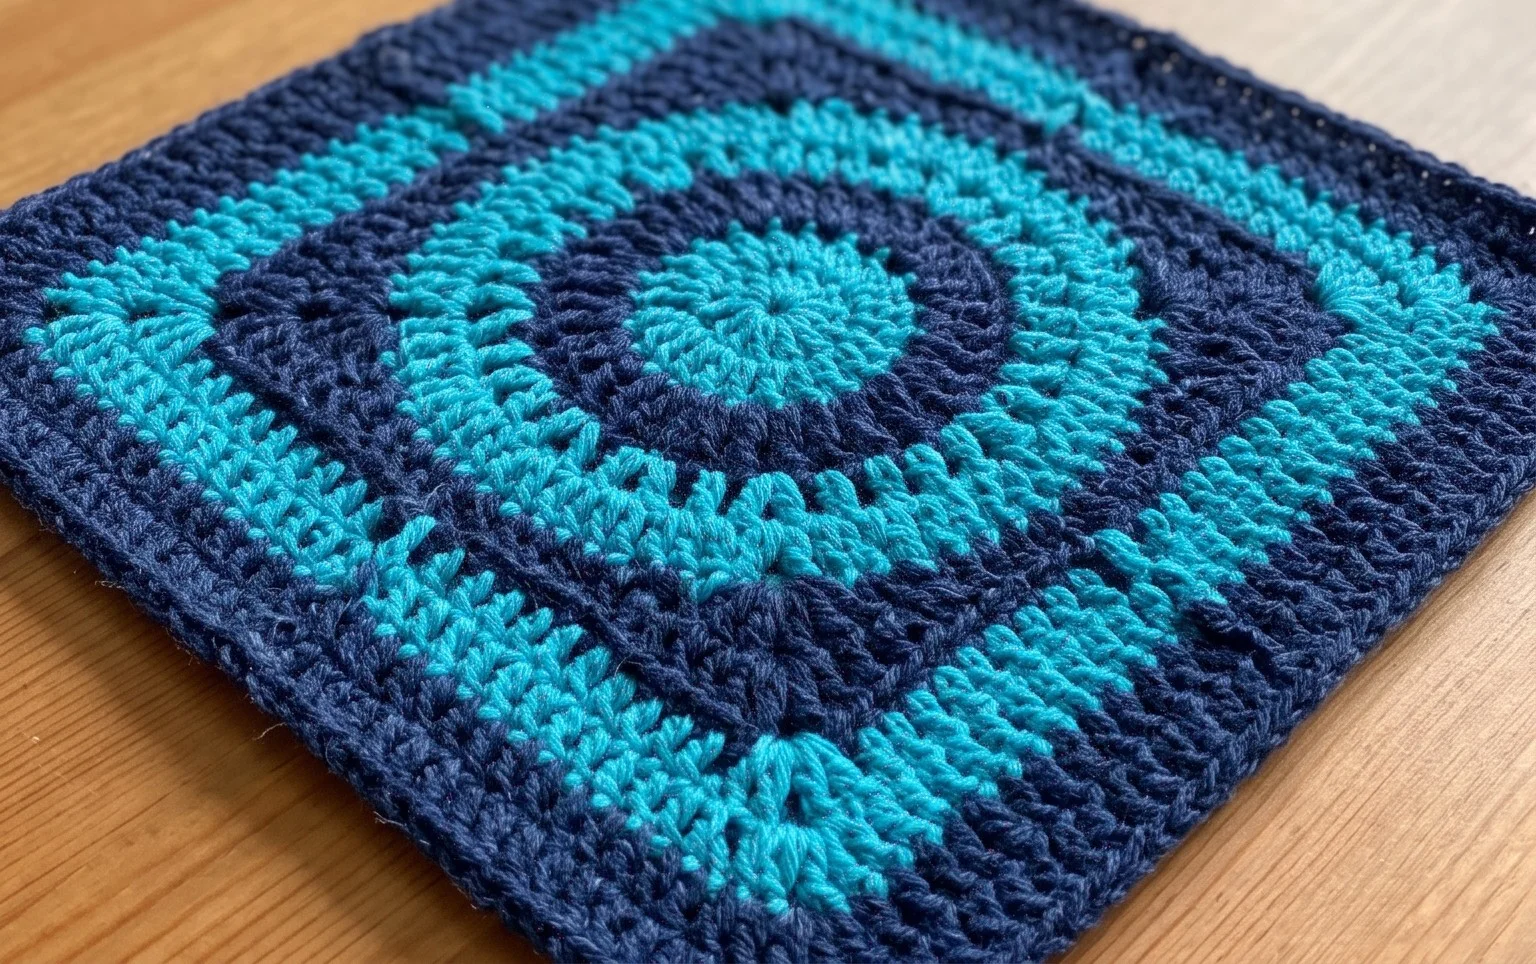
Finishing your first square feels like a major victory that opens the door to creating larger pieces for your home. You might consider using a variegated cotton yarn for your next batch to see how the color shifts interact with the simple geometric lines. Take a photo of your work and share it on Instagram to show off your progress to the crafting community. Browse the rest of the site for more free patterns that utilize these same fundamental techniques to build your handmade collection.