Easy Crunch Stitch Dishcloth: Free Beginner Pattern
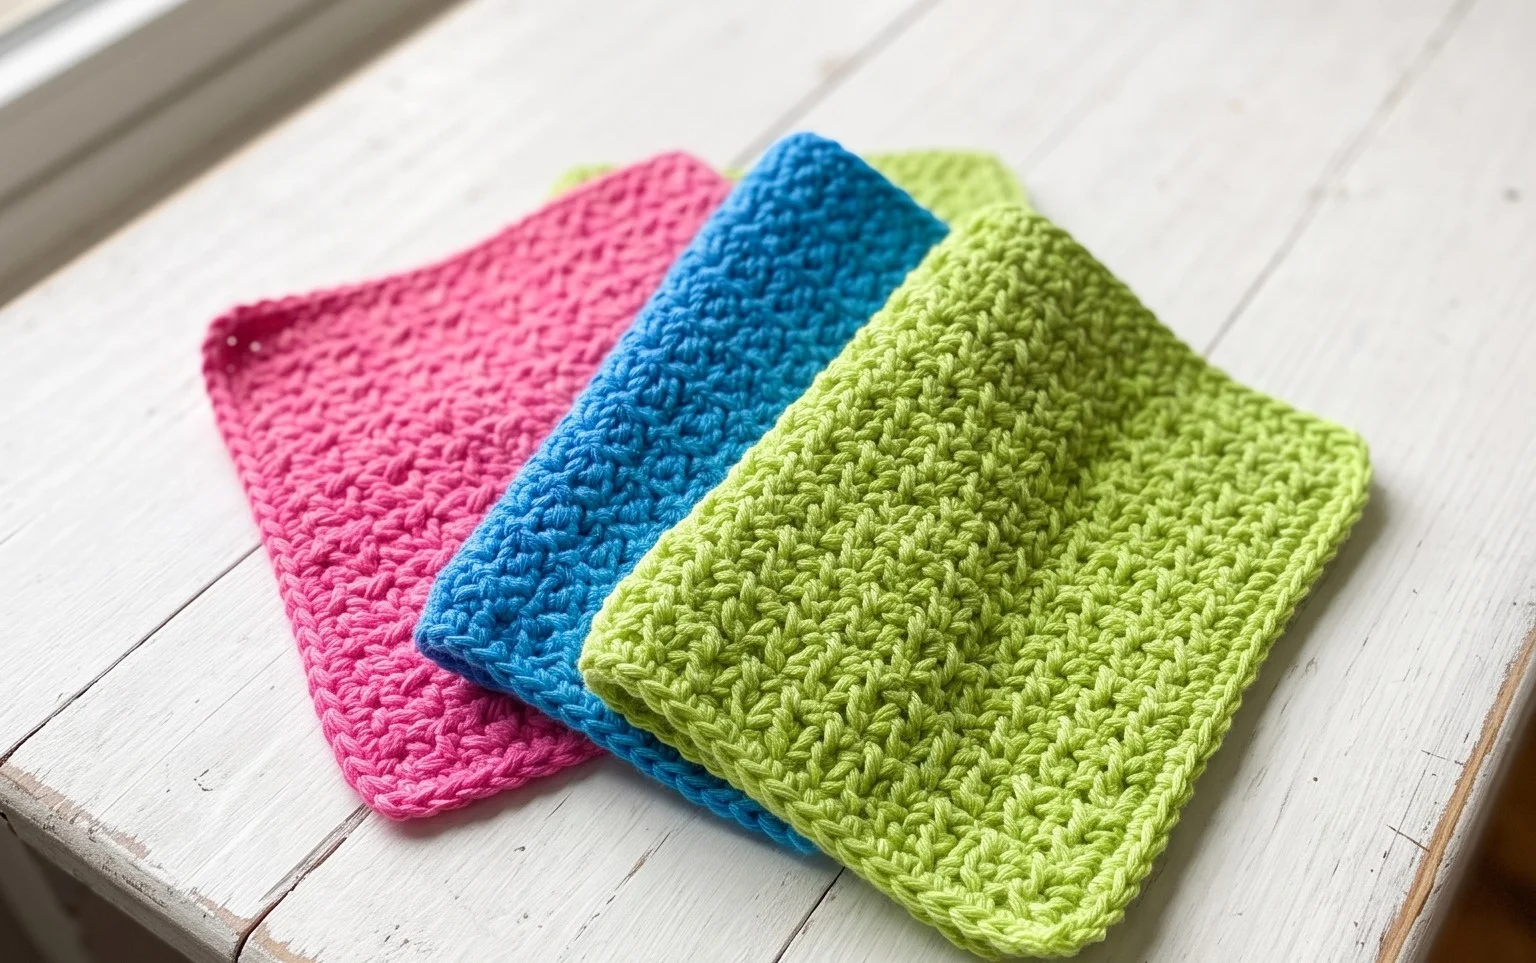
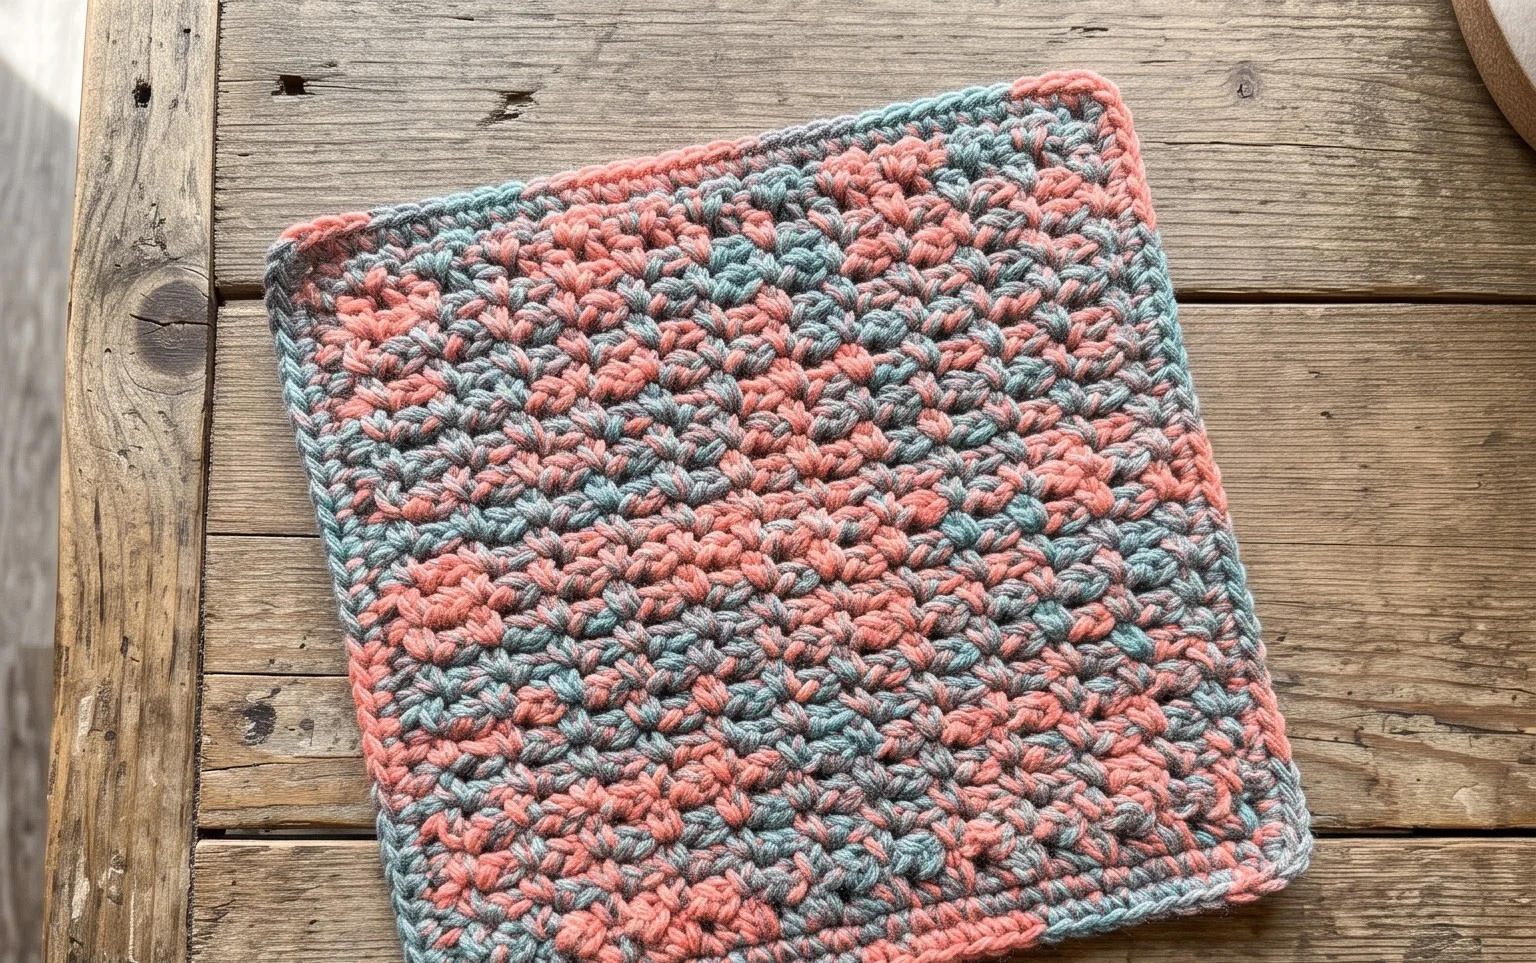
The crunch stitch creates a dense, bumpy surface that grips onto soap and scrubs away stuck-on food without scratching delicate cookware. This texture feels firm in the hand and holds its shape through countless wash cycles, making it a reliable addition to any kitchen sink. Beginners often appreciate how quickly this pattern builds, as it requires only basic knowledge of slip stitches and half-double crochets. You can work up a full set in a single evening, providing a thoughtful gift for neighbors or friends. This guide breaks down the specific stitch placement needed to keep your edges uniform.
Why You’ll Love This Pattern
The Classic Crochet Granny Square is the foundation of countless textile projects, from cozy blankets to lightweight summer tops. You will appreciate the rhythmic nature of the stitches, which creates a meditative experience perfect for winding down after a busy day. This specific pattern uses a traditional three-double-crochet cluster design, ensuring a dense yet flexible fabric that holds its shape well over time. Because each square works up in mere minutes, it is an ideal project for utilizing small balls of leftover yarn. You can easily experiment with color blocking or solid hues to achieve entirely different visual effects with the same basic technique.
I finally mastered the granny square with this guide. The instructions are very clear, and my corners actually stay square instead of curling up.
— Sarah, beginner crocheter
Pattern Overview & Skill Level
- Skill Level: Beginner
- Approximate Time: 30 minutes per square
- Construction: Worked in joined rounds, starting from a center ring and expanding outward
- Finished Dimensions: Approximately 5 inches by 5 inches using medium weight yarn
Materials & Supplies Needed
- Yarn: Worsted weight (#4), 100% cotton or acrylic, approximately 15-20 yards per square.
- Hook Size: 5.0 mm (US H-8) crochet hook.
- Notions: Yarn needle for weaving in ends, sharp scissors, and an optional blocking board with pins.
- Yarn Substitutions: Wool or alpaca blends offer extra warmth for blankets, while cotton provides better stitch definition for decorative items. Thinner yarn will result in a smaller square, requiring an extra round to reach the standard 5-inch size.
Stitch Guide & Abbreviations (US Terms)
- ch: chain
- sl st: slip stitch
- dc: double crochet
- st/sts: stitch/stitches
- Cluster: A group of 3 dc stitches worked into the same space.
- Corner: Two clusters separated by a chain-2 space.
Step-by-Step Pattern Instructions
Center and Foundation
- Round 1: Start with a magic ring or ch 4 and sl st to the first chain to form a loop. Ch 3 (counts as first dc), work 2 dc into the center, ch 2. Work [3 dc into the center, ch 2] three times. Sl st to the top of the beginning ch-3 to join. (12 dc, 4 ch-2 spaces)
Expanding the Square
- Round 2: Sl st into the next dc and into the first ch-2 corner space. Ch 3, 2 dc, ch 2, 3 dc all in the same corner space. Ch 1, skip 3 dc, (3 dc, ch 2, 3 dc) in next ch-2 corner space. Repeat from * to * two more times. Ch 1, sl st to the top of the beginning ch-3. (24 dc, 4 ch-2 corner spaces, 4 ch-1 side spaces)
- Round 3: Sl st into the next dc and into the corner space. Ch 3, 2 dc, ch 2, 3 dc all in the same corner space. Ch 1, 3 dc in the ch-1 side space, ch 1, (3 dc, ch 2, 3 dc) in the next corner space. Repeat from * to * two more times. Ch 1, 3 dc in the final side space, ch 1, sl st to the top of the beginning ch-3. (36 dc, 4 ch-2 corner spaces, 8 ch-1 side spaces)
- Finishing: Fasten off the yarn, leaving a 6-inch tail. Pull the tail through the final loop to secure. Use a yarn needle to weave the end through the back loops of the stitches on the reverse side.
Care & Washing Instructions
- Hand wash your finished items in cool water with a mild detergent to preserve the fibers.
- Lay the squares flat on a clean towel to air dry, avoiding direct sunlight which can fade saturated colors.
- Gently reshape the squares while damp or use a light steam block to ensure all corners remain perfectly ninety degrees.
Pro Tips & Common Mistakes to Avoid
Consistent tension is the most common hurdle for beginners; try to keep your yarn pull even across every stitch to prevent the square from buckling. Always place a stitch marker in the top of your starting chain-3 so you can easily identify where to join your round at the end. Weave your ends in by threading the needle through the base of the stitches on the wrong side, moving in two different directions to prevent the tail from slipping out over time. If you wish to make a larger square, simply repeat the pattern of Round 3, adding more ch-1 spaces and clusters along the sides until you reach your desired dimensions.
Frequently Asked Questions
Can I use a different yarn weight for this pattern?
Yes, you can use any yarn weight. Keep in mind that lighter yarns, such as sport or fingering weight, will produce a much smaller square, while chunky yarns will result in a larger, thicker piece.
Why do my square edges look wavy instead of flat?
Wavy edges usually indicate that your tension is too loose or that you are adding extra chain stitches where they are not called for in the pattern. Check your stitch counts at the end of every round.
Is this pattern suitable for creating a scrap yarn blanket?
This is a perfect project for using up partial skeins. You can switch colors at the start of each round to create a vibrant, multi-colored look using every bit of your yarn stash.
Am I allowed to sell items made from this pattern?
You are welcome to sell finished items created from this pattern. I only ask that you credit the design back to this website in your product listings.
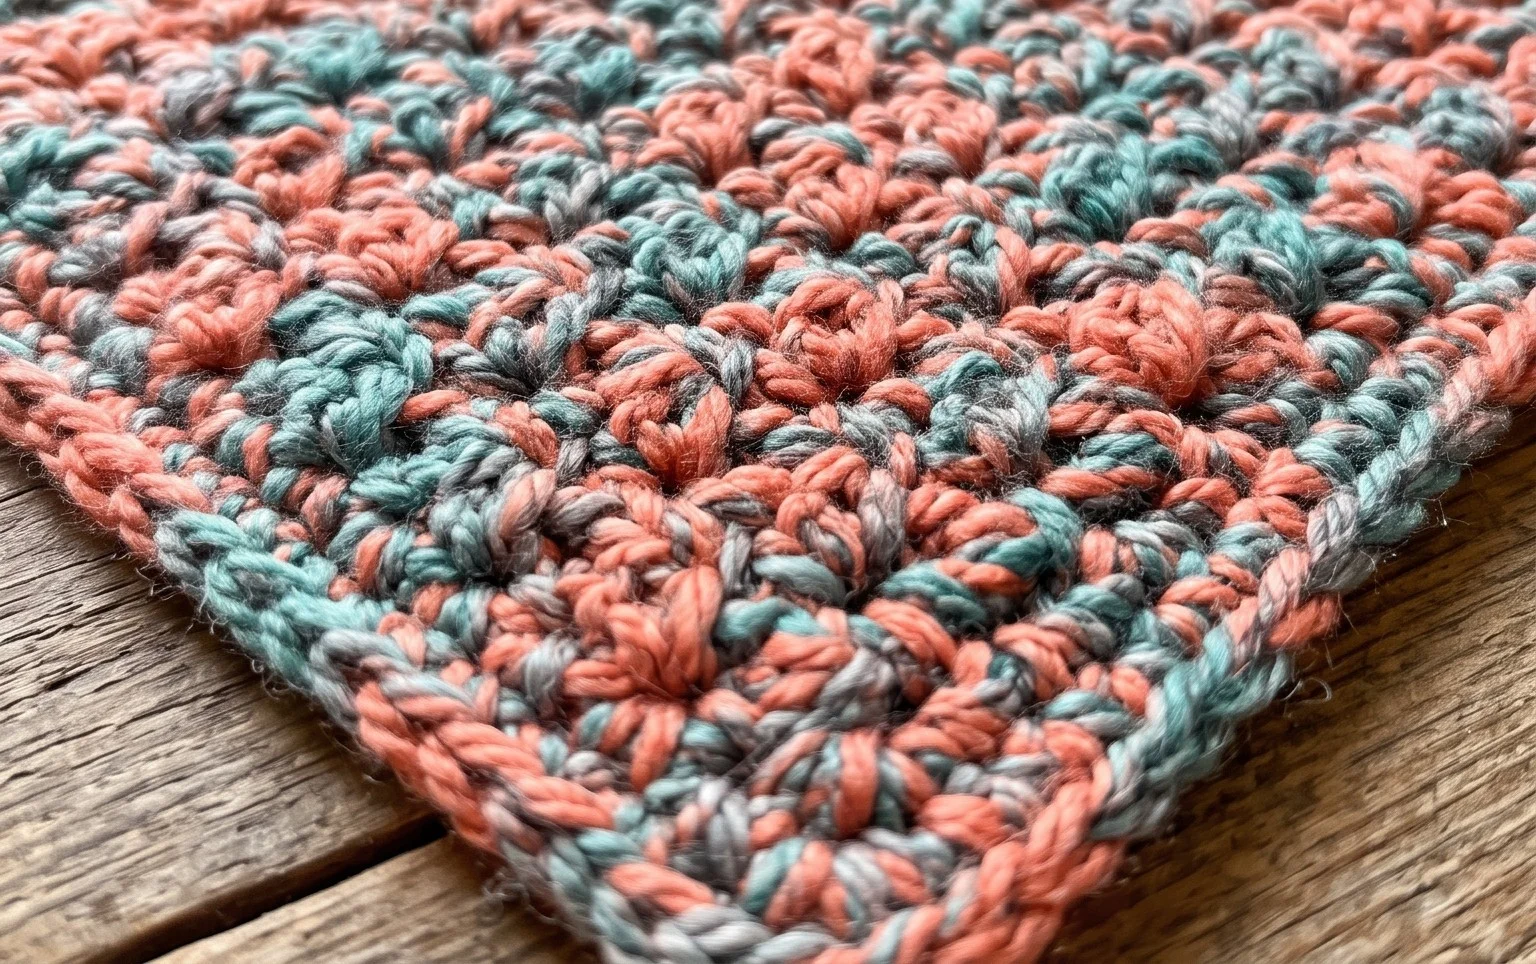
Your new kitchen staple provides a practical touch to your daily routine while adding a splash of color to your workspace. You might experiment with variegated cotton yarn to create a playful striped effect or increase the chain count to turn these into small spa washcloths for a bathroom set. Please share a photo of your finished work on social media so others can see your color choices. You will find more free tutorials for home goods and small handmade gifts on the blog whenever you are ready for your next project.