Easy Christmas Cat Hat Crochet Pattern: Free Tutorial
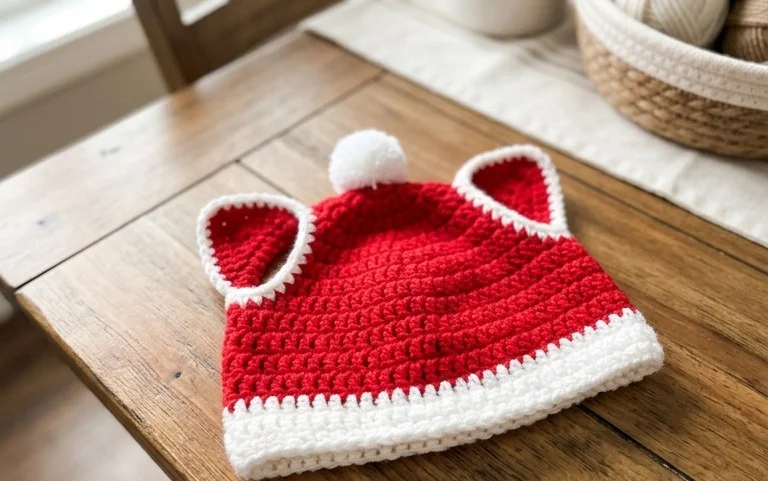
Soft yarn transforms into a playful set of kitty ears with this simple holiday project. The hat sits snugly against your ears while adding a touch of whimsy to your winter wardrobe. Beginners appreciate how quickly the basic stitches form the main body, while more experienced makers find joy in the precise shaping of the points. You will work through the fundamental half double crochet stitch to create a dense, warm fabric that holds its shape well throughout the season. This festive accessory makes a thoughtful handmade gift that brings a genuine smile to any cat lover during chilly December mornings.
Why This Project Is Worth Making
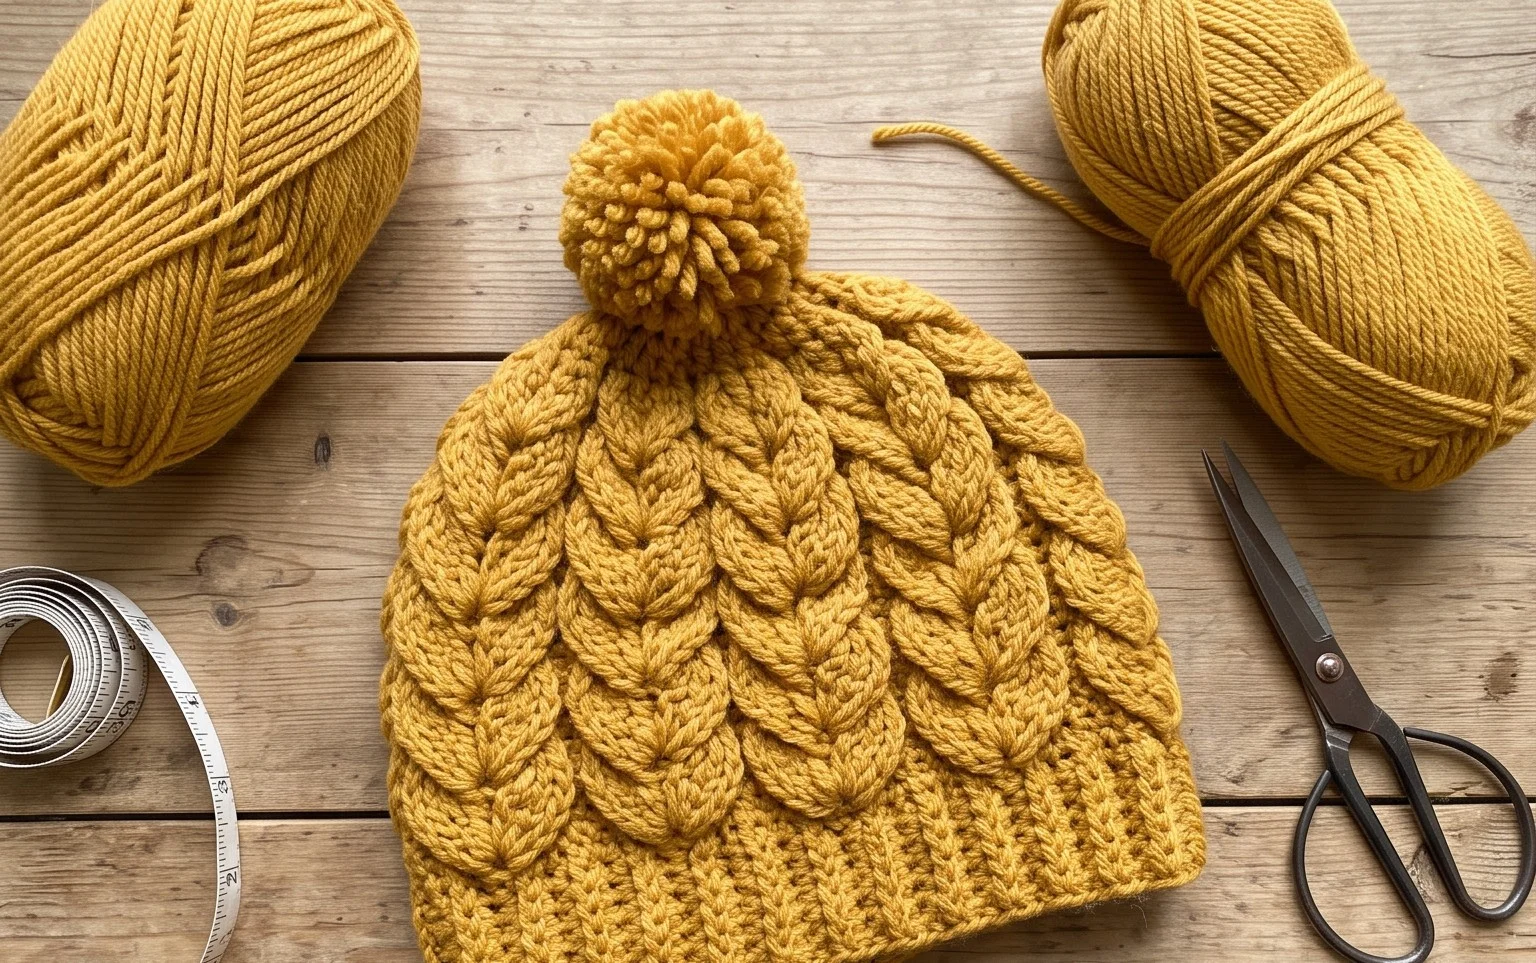
This classic crochet beanie works up quickly using basic stitches, making it an ideal choice for a relaxing evening project. You only need one skein of yarn, which keeps costs low while producing a high-quality, professional-looking garment. The stitch pattern offers enough texture to stay interesting without requiring complex maneuvers, and the finished hat provides excellent warmth for cold weather. Because it uses a simple construction method, you can easily adjust the length to create a slouchy fit or a snug, traditional cap.
I managed to finish this hat in a single afternoon while watching a movie. The instructions are incredibly clear and the finished result is much softer than the store-bought versions I used to buy.
— Sarah, beginner crocheter
Pattern Overview & Skill Level
- Skill Level: Beginner
- Approximate Time: 3 to 4 hours
- Construction: Worked as a flat rectangle in rows, then seamed at the side and gathered at the top
- Finished Dimensions & Sizing: Fits an average adult head (20-22 inches circumference); height is approximately 9 inches
Materials & Supplies Needed
- Yarn: Worsted weight (#4), 100% acrylic or wool blend, approximately 200 yards.
- Hook Size: 5.0 mm (US H-8) crochet hook.
- Notions: Tapestry needle for weaving ends, measuring tape, and scissors.
- Safe yarn substitutions: You may use cotton yarn for a stiffer, summer-weight hat, though it will have less stretch. Avoid bulky or super fine yarns, as these will significantly change the gauge and require adjusting the starting chain count.
Stitch Guide & Abbreviations (US Terms)
- ch = chain
- st = stitch
- sl st = slip stitch
- sc = single crochet
- hdc = half double crochet
- BLO = back loop only (insert hook into the back loop of the stitch instead of both loops to create ridges)
Step-by-Step Pattern Instructions
Main Hat Body
- Row 1: Ch 45. Hdc in the third ch from hook and in each ch across. Turn. (43 sts)
- Row 2: Ch 2 (does not count as st), hdc in BLO of each st across. Turn. (43 sts)
- Rows 3-60: Repeat Row 2 until the piece measures roughly 20 inches wide when slightly stretched.
Assembly and Finishing
- Fold the rectangle in half so the short ends touch.
- Using the tapestry needle and a long tail of yarn, whip stitch the two short ends together to create a tube.
- Fasten off the bottom edge by weaving in the yarn tail.
- To close the top, thread the tapestry needle with a fresh piece of yarn. Weave the needle in and out through the stitches along the top edge of the tube.
- Pull the yarn tight to cinch the top of the hat closed. Secure with a double knot.
- Turn the hat right-side out and weave in all remaining ends on the inside.
Care & Washing Instructions
- Machine wash on a gentle cycle in cool water (30°C/86°F) using a mild detergent.
- Lay the hat flat on a clean towel to air dry, reshaping it while damp to ensure it retains its circular form.
- Avoid using bleach or tumble drying, as high heat can damage synthetic fibers and cause the hat to lose its elasticity.
Pro Tips & Common Mistakes to Avoid
Maintain consistent tension throughout your work by holding the yarn with a steady grip, as uneven tension will result in a warped or lopsided shape. Always place a stitch marker at the beginning of your first row to help keep track of the start, ensuring your rectangle stays uniform in width. Weave in your yarn tails along the ribbing ridges using the tapestry needle; this makes them virtually invisible to the naked eye. If you prefer a slouchier fit, simply add 10 to 15 additional rows during the main body construction phase.
Frequently Asked Questions
Can I substitute the worsted yarn for a thinner yarn?
Using a thinner yarn will result in a smaller hat. To maintain the same size, you would need to increase your starting chain count and the total number of rows worked to match the dimensions mentioned in the overview.
Is this pattern suitable for someone who has never crocheted before?
Yes, this project relies entirely on basic chains and half double crochet stitches. It is a manageable first project because it involves simple rows rather than complex rounds or shaping.
How do I adjust the hat to fit a child instead of an adult?
Reduce the initial starting chain to 35 stitches and work fewer rows until the piece measures approximately 17 inches wide before seaming.
May I sell the hats I make from this pattern?
You are welcome to sell items made from this design, provided you credit the pattern source. Please do not sell or distribute the pattern document itself.
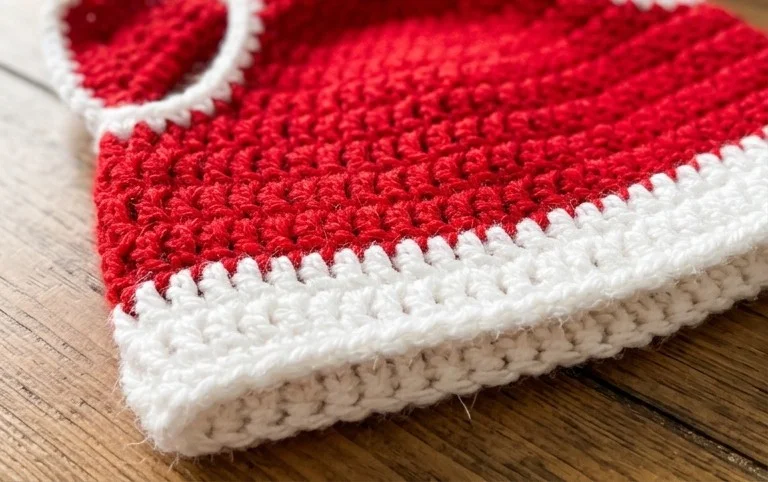
Wearing your new handmade feline-inspired accessory brings a sense of accomplishment to your holiday crafting. You can customize the look by using a fuzzy mohair blend for a softer texture or adding a small bell to the top point for extra personality. Tag us in your photos on social media to show off how your version turned out this year. If you enjoyed this project, browse the rest of our blog for more free patterns to fill your afternoon. Happy hooking as you continue your seasonal making journey with us.