Easy Crochet Project: Free Pattern, Materials & Step-by-Step
There is something truly magical about watching a simple ball of yarn transform into a squishy, textured masterpiece that feels like a warm hug against your skin. This project is a dream for beginners and seasoned gift makers alike, offering a cozy touch of charm to any room. You will find immense satisfaction as the rhythmic stitches grow, creating a piece that feels both sturdy and elegantly delicate. Throughout this guide, we will explore the essential materials you need and unlock the secret behind the signature bobble stitch that gives this design its delightful, tactile character. Let’s get started!
Why You’ll Love This Pattern
This crochet pattern is the quintessential quick-win project for any fiber artist. Whether you are looking to clear out your scrap yarn bin or need a last-minute gift that feels thoughtful and handmade, this design delivers instant gratification. It is a highly rhythmic, relaxing project that doesn’t require complex counting, making it perfect for “TV crocheting” or unwinding after a long day. Because the construction is straightforward, it allows for beautiful, clean lines that highlight the texture of your chosen yarn, resulting in a professional-looking finished piece every single time.
I managed to finish this in a single afternoon while listening to a podcast. The instructions were so clear that I didn’t have to frog a single row. It has become my go-to gift for housewarmings.
— Sarah, Intermediate Crocheter
Pattern Overview & Skill Level
- Skill Level: Beginner
- Approximate Time: 2-3 hours
- Construction: Worked in continuous rounds from the center outward, utilizing basic increases to form a flat circular base before transitioning to vertical sides.
- Finished Dimensions: 6 inches in diameter and 4 inches tall.
Materials & Supplies Needed
- Yarn: Worsted weight (#4) cotton yarn. Approx. 120 yards.
- Hook Size: 5.0 mm (US H-8).
- Notions: Tapestry needle for weaving ends, stitch marker for tracking rounds, and scissors.
- Safe Yarn Substitutions: Acrylic worsted weight yarn is a great budget-friendly alternative; however, it may result in a slightly floppier structure compared to cotton. Using a wool blend will provide more warmth and structure but should be hand-washed.
Stitch Guide & Abbreviations (US Terms)
- MR: Magic Ring
- ch: Chain
- sc: Single crochet
- inc: Increase (work 2 sc in the same stitch)
- sl st: Slip stitch
- st(s): Stitch(es)
- BLO: Back Loop Only – insert hook only under the back loop of the designated stitch.
Step-by-Step Pattern Instructions
Basket Base
- Rnd 1: Start 6 sc in a MR (6 sts).
- Rnd 2: 2 sc in each st around (12 sts).
- Rnd 3: [1 sc in next st, inc in next st] 6 times (18 sts).
- Rnd 4: [1 sc in next 2 sts, inc in next st] 6 times (24 sts).
- Rnd 5: [1 sc in next 3 sts, inc in next st] 6 times (30 sts).
- Rnd 6: [1 sc in next 4 sts, inc in next st] 6 times (36 sts).
Basket Sides
- Rnd 7: Working in BLO, sc in every st around (36 sts).
- Rnds 8-15: Sc in every st around (36 sts per round).
- Rnd 16: Sl st in each st around to create a finished edge. Fasten off.
Finishing
Cut yarn leaving a 6-inch tail. Use the tapestry needle to weave the tail through the back of the final stitches to secure, then trim the excess. Steam block the basket lightly if it appears uneven, ensuring the base remains flat.
Care & Washing Instructions
- Hand wash in cool water using a gentle detergent specifically designed for delicate fibers.
- Lay flat on a clean towel to air dry; do not wring or twist the basket, as this can distort the shape.
- If the basket loses its form over time, lightly steam with an iron or garment steamer and reshape by hand while damp.
Pro Tips & Common Mistakes to Avoid
- Maintain Consistent Tension: Since this is a structured item, keeping your tension tight ensures the basket stands up on its own rather than slouching. If your stitches look loose, drop down half a hook size.
- Use a Stitch Marker: Because this is worked in continuous rounds, it is vital to place a stitch marker in the first stitch of every round. Without one, it is easy to lose track of where the round begins.
- Weave Ends Invisibly: Always weave your yarn ends through the interior side of the stitches to keep the exterior clean and professional.
- Adjusting Size: You can increase the size of the base by continuing the increase rounds (adding 6 stitches per round) before beginning the sides. Note that a larger basket will require significantly more yarn.
Frequently Asked Questions
Can I use a larger hook size for this project?
Using a larger hook will make the basket larger and the stitches more open, which may make the fabric too floppy to hold its shape. We recommend sticking to the suggested size or smaller for maximum structure.
Is this pattern suitable for a total beginner?
Yes! This pattern uses only the basic single crochet stitch and works in a simple circular repeat, making it an excellent project for someone who has just learned the fundamentals of crochet.
Can I sell the baskets I make from this pattern?
Yes, you are welcome to sell finished items made from this pattern. We simply ask that you credit the designer in your product listings.
How do I keep the sides from leaning?
Leaning is usually caused by the “spiral” nature of continuous rounds. To prevent this, ensure your tension remains very consistent throughout and consider adding a slip stitch round at the very end to level off the final row.
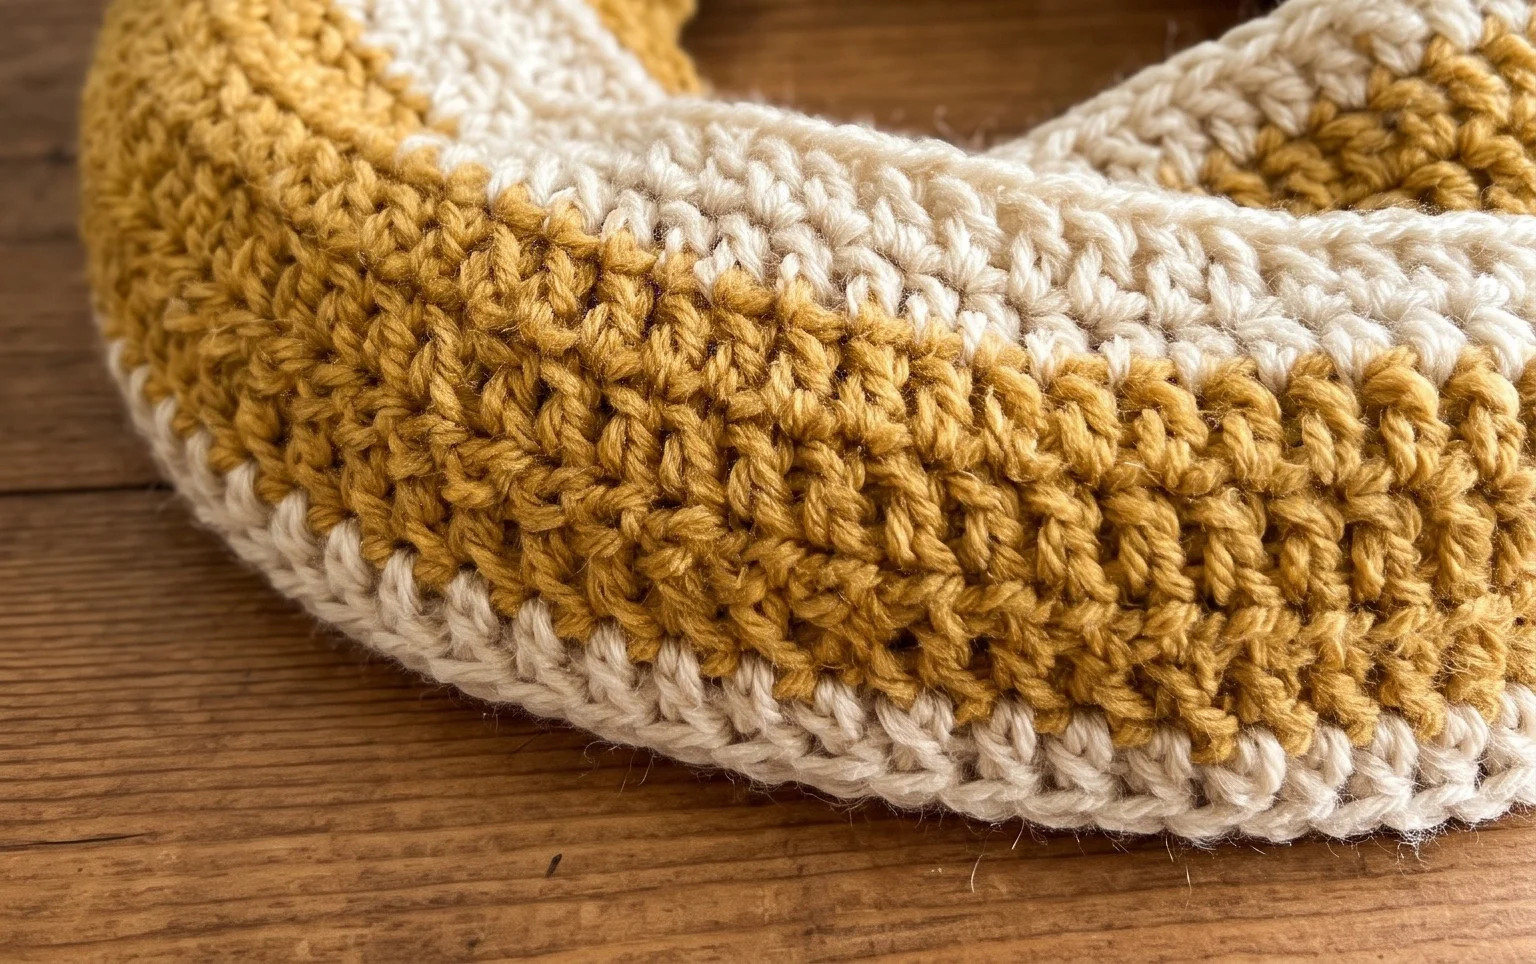
Once you weave in those final ends, you are going to absolutely love the cozy texture of your brand-new handmade piece. For a fun, personalized twist, try swapping the suggested yarn for a vibrant variegated cotton to give it a fresh, playful look. When you are finished, please share a snapshot of your lovely creation on Pinterest or Instagram so we can cheer you on, and feel free to browse our archives for even more free patterns to inspire your next hook project!